CCTV & Cameras
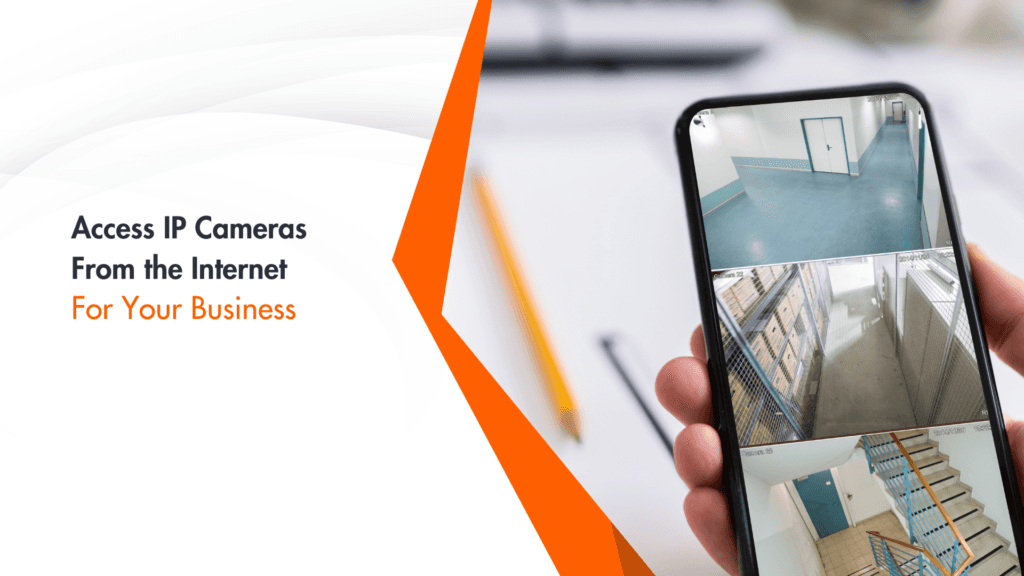
Also known as a network camera, an IP camera is a digital video camera that uses an Internet Protocol (IP) network to send image data and receive control data. It’s commonly used in surveillance.
But how do business owners and personnel access IP cameras from the internet? In this article, we will tackle all the steps to take when you want to access and control your camera system.
Prerequisites
Here’s what you should have first before setting up remote access.
Make sure your camera supports remote viewing.
Your office router should support port forwarding.
You should also have a stable Internet connection (both at the camera's location and from where you’ll access it).
You must have a device for remote viewing. It can be a smartphone, tablet or computer. Make sure it also has a compatible web browser or the camera manufacturer’s mobile app installed.
You’ll need your camera’s default login credentials to access its settings. You should change these from the default to increase security.
You must also know concepts like IP addresses, ports and basic network settings.
If you have these prerequisites, you are now ready to begin the setup process to access your IP camera from the Internet.
Step 1: Locating Your Camera’s IP Address

Many IP cameras come with a default IP address listed in the user manual or quick start guide. This is often something like 192.168.1.100 or 192.168.0.100.
If your camera has a dedicated app or software, it usually displays the IP address in the device information or settings section.
Log into your router’s admin interface. Look for a section called “Connected Devices” or “DHCP Client List”. Your camera should be listed here with its IP address.
If you have previously set up the camera on your local network, try common IP ranges like 192.168.1.x or 10.0.0.x in your web browser. Replace ‘x’ with numbers from 1 to 254.
Once you have found your camera’s IP address, note it down. You will need this information for the next steps in setting up remote access.
Remember: If you can’t locate your IP address using these methods, consult your camera’s user manual or contact the manufacturer’s support team for assistance.
Step 2: Setting Up Port Forwarding
Port forwarding is important so you can externally access your IP camera. This process tells your router to direct incoming traffic on specific ports to your camera.
Here is how to set it up.
Open your web browser and enter your router’s IP address.
Log in with your router’s admin credentials.
Look for “Port Forwarding,” “Port Mapping,” or “Virtual Server” in the router’s menu. This is often under “Advanced Settings” or “NAT/QoS” sections.
Click “Add Rule,” “Create New,” or a similar option.
Enter a name for the rule (e.g., “IP Camera”).
Specify the internal and external ports:
For HTTP, use port 80 or 8080.
For RTSP (used for video streaming), usually port 554.
Enter your camera’s local IP address (found in Step 1).
Select TCP or Both (TCP/UDP) as the protocol.
Save the new rule and apply changes to your router.
Test from a device not on your office network (like a mobile phone using cellular data) by accessing your camera using your public IP address and the specified port.
Some notes
Some routers may require you to enable UPnP (Universal Plug and Play) for port forwarding to work.
If your camera supports HTTPS, consider forwarding port 443 for secure connections.
Consult your camera’s manual every time for if you’re looking for the port requirements.
Step 3: Obtaining Your External (WAN) IP Address

Here is how to find your WAN. There are three ways to do it.
Open your browser and search for “What is my IP” on Google or visit a website like whatismyip.com. The displayed IP address on your screen is your external IP.
Log into your router’s admin panel. Look for “WAN Information” or “Internet Status” section. Your external IP should be listed here.
Open Command Prompt (Windows) and type “nslookup myip.opendns.com resolver1.opendns.com.” The returned IP address is your external IP.
Important Considerations
a. Dynamic vs. Static IP
Commercial Internet connections often use static IP addresses, as static IPs remain constant and do not change.
b. Dynamic DNS (DDNS)
DDNS services link a domain name to your changing IP address.
Popular DDNS providers include No-IP, DynDNS, and Duck DNS.
Some routers and IP cameras have built-in DDNS support.
c. IPv4 vs. IPv6
Confirm if you’re using the IPv4 address. Use it unless your camera and network explicitly support IPv6.
d. Privacy Concerns
Your external IP is visible to the websites you visit. Proceed with caution when sharing it publicly.
Remember: If you are using a Dynamic DNS, you’ll use the provided domain name instead of the IP address for remote access.
Step 4: Remote Access Setup
Now that you have set up port forwarding and obtained your external IP address, it is time to configure your camera
Open your web browser on a device connected to your local network.
Enter your camera’s local IP address (see Step 1).
Use the default username and password if you haven’t changed them yet.
Look for options like “Network,” “Remote Access,” or Platform Access.”
Find and enable options like “Remote Viewing” or “Cloud Access” if available. Some cameras may require you to create an account with the manufacturer’s cloud service.
Change the default username and password to something strong and unique.
Enable two-factor authentication (2FA) if it’s available.
You may also consider enabling HTTPS for encrypted connections if your camera supports it.
This part is optional. If your camera manufacturer offers a mobile app, download it on your smartphone. Follow the app’s instructions to add your camera. It may direct you to scan a QR code or enter the camera’s serial number.
You may also want to set up motion detection zones and sensitivity and configure alert settings to receive notifications on your phone or email when motion is detected.
After making changes, save your settings and reboot the camera if needed.
Important Security Notes
Update your camera’s firmware to patch security vulnerabilities.
Aside from being strong and unique, be sure that your camera’s password is different from other accounts.
Consider setting up a separate VLAN for your cameras to isolate them from other devices on your network.
Step 5: Accessing Your Camera Remotely
You are now ready to view your camera from anywhere. Here are the two methods to access your IP camera from the Internet.
Web Browser Access
Open your browser from any device you have that is connected to the Internet, but not your office network.
Enter your external IP address followed by the port number:
http://[Your External IP]:[Port Number]
For example, http://203.0.113.45:8080If you’ve set up HTTPS, use https:// instead of http://
Log in with your camera’s username and password.
Mobile App Access
Open the manufacturer’s mobile app on your smartphone or tablet.
Log in with your account credentials.
Select your camera from the device list to view the live feed.
DDNS Access
If you have set up a DDNS service, use your DDNS domain name instead of the IP address:
http://[Your DDNS domain]:[Port Number]
For example, http://mycamera.ddns.net:8080
Third-Party Software
Some users prefer third-party applications like VLC media player or iSpy for viewing multiple cameras.
You’ll need to enter your camera’s RTSP stream URL which usually follows this format:
rtsp://[username]:[password]@[IP Address]:[RTSP Port]/[Stream Path]
Testing Remote Access
Try accessing your camera while connected to a different Wi-Fi network or using cellular data.
If you can view the feed, congratulations! Your remote access is working.
Troubleshooting Tips
If you cannot connect, double-check your port forwarding settings and make sure your router’s firewall isn’t blocking the connection.
Some internet service providers block common camera ports. Try using a non-standard port number if you encounter issues.
If you are having trouble with the manufacturer’s app, try the web browser method to isolate whether the issue is with the app or your setup.
Advanced Options
If you are looking to maximise the potential of your IP camera systems, you should consider the options below.
Setting up a VPN
Implement a Virtual Private Network (VPN) to create a secure tunnel between your remote device and your business network. This is an extra layer of encryption and security when you’re accessing your cameras remotely.
Utilising Cloud Storage for Footage
Consider cloud to store your video footage and for two reasons: data redundancy and easy access. Many camera manufacturers offer their cloud storage services.
Alternatively, you can use third-party cloud storage providers like Amazon Web Services or Microsoft Azure. Just make sure that your cloud storage solution complies with relevant data protection regulations.
Integrating with Access Control Systems
Combine your IP cameras with your access control system to streamline your operations and enhance the security of your premises.
Examples of integrated functionalities are:
Automatic camera focus on specific doors when access is granted
Video pop-ups for security operators when there is an unauthorised access attempt
Correlation of video footage with access logs so you can easily investigate whenever an incident arises
Scalability and Centralised Management
If your business has multiple locations, you should consider solutions allowing centralised management of all cameras. Look for systems that can easily scale as your business grows.
Conclusion
Remotely accessing your IP cameras gives way to operational flexibility in businesses. Follow the discussed steps to maximise the benefits of your surveillance camera system in Singapore.
Do you need further assistance with your CCTV security cameras? D-Ron can help. Contact us here.